Jewellery craft · 2026-09-17
Soldering silver: your first joint with a torch
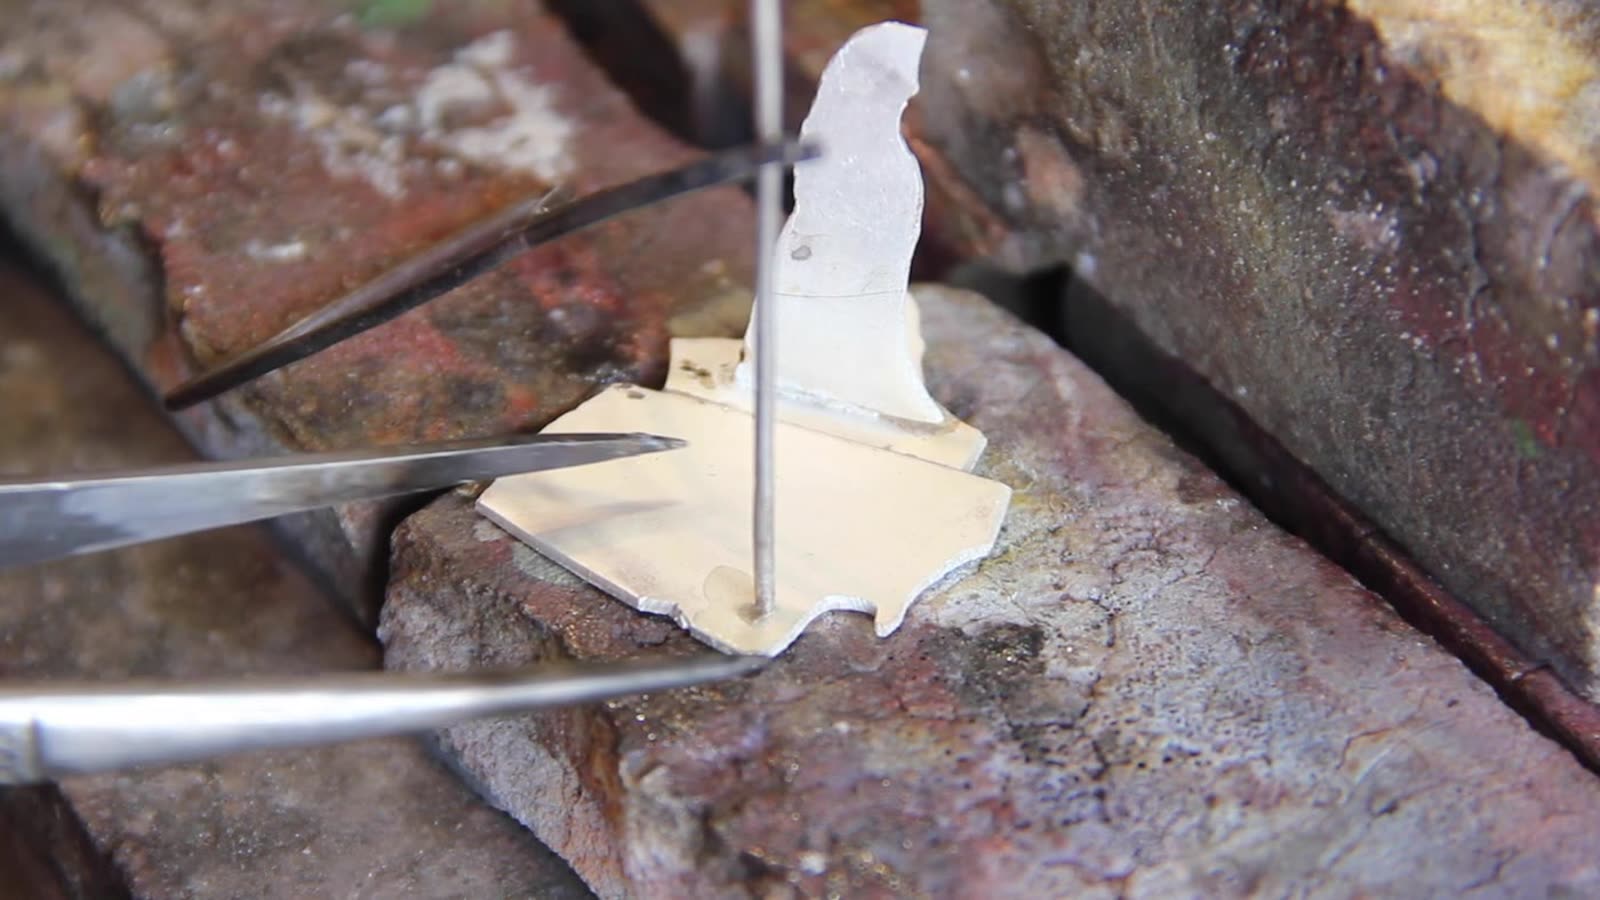
The beginner's first real obstacle is not the file, it is the torch. Until you have made solder flow into a joint, you are cutting metal — you are not making jewellery yet.
A word about vocabulary first. What everyone calls soldering is, at the bench, a matter of a filler metal: the two pieces of silver never melt. Something more fusible than they are flows between them and holds them. The whole difficulty of the job is already in that sentence: you do not heat the solder, you heat the parts — and the parts make the solder run.
The torch and the flame
To begin with, one gas only: propane. Some jewellers work with oxygen as well, but it is more dangerous — handled wrongly, it blows up the whole house. It is not first-year equipment.
A torch set usually comes with four or five tips. In practice you will use two: a large flame for melting, a small one for soldering. The others will sit in the box for months.
And how do you read the flame? Less than you would think. What you are really watching is the colour of the metal, not the colour of the fire: both parts have to come up to the same shade of red. Too small a flame makes you dawdle, and the metal oxidises while you do; too big a flame melts the small part before the large one is hot. The types of flame are shown on video in the lesson on soldering a chain, from the second minute on.
Gas: the part you do not improvise
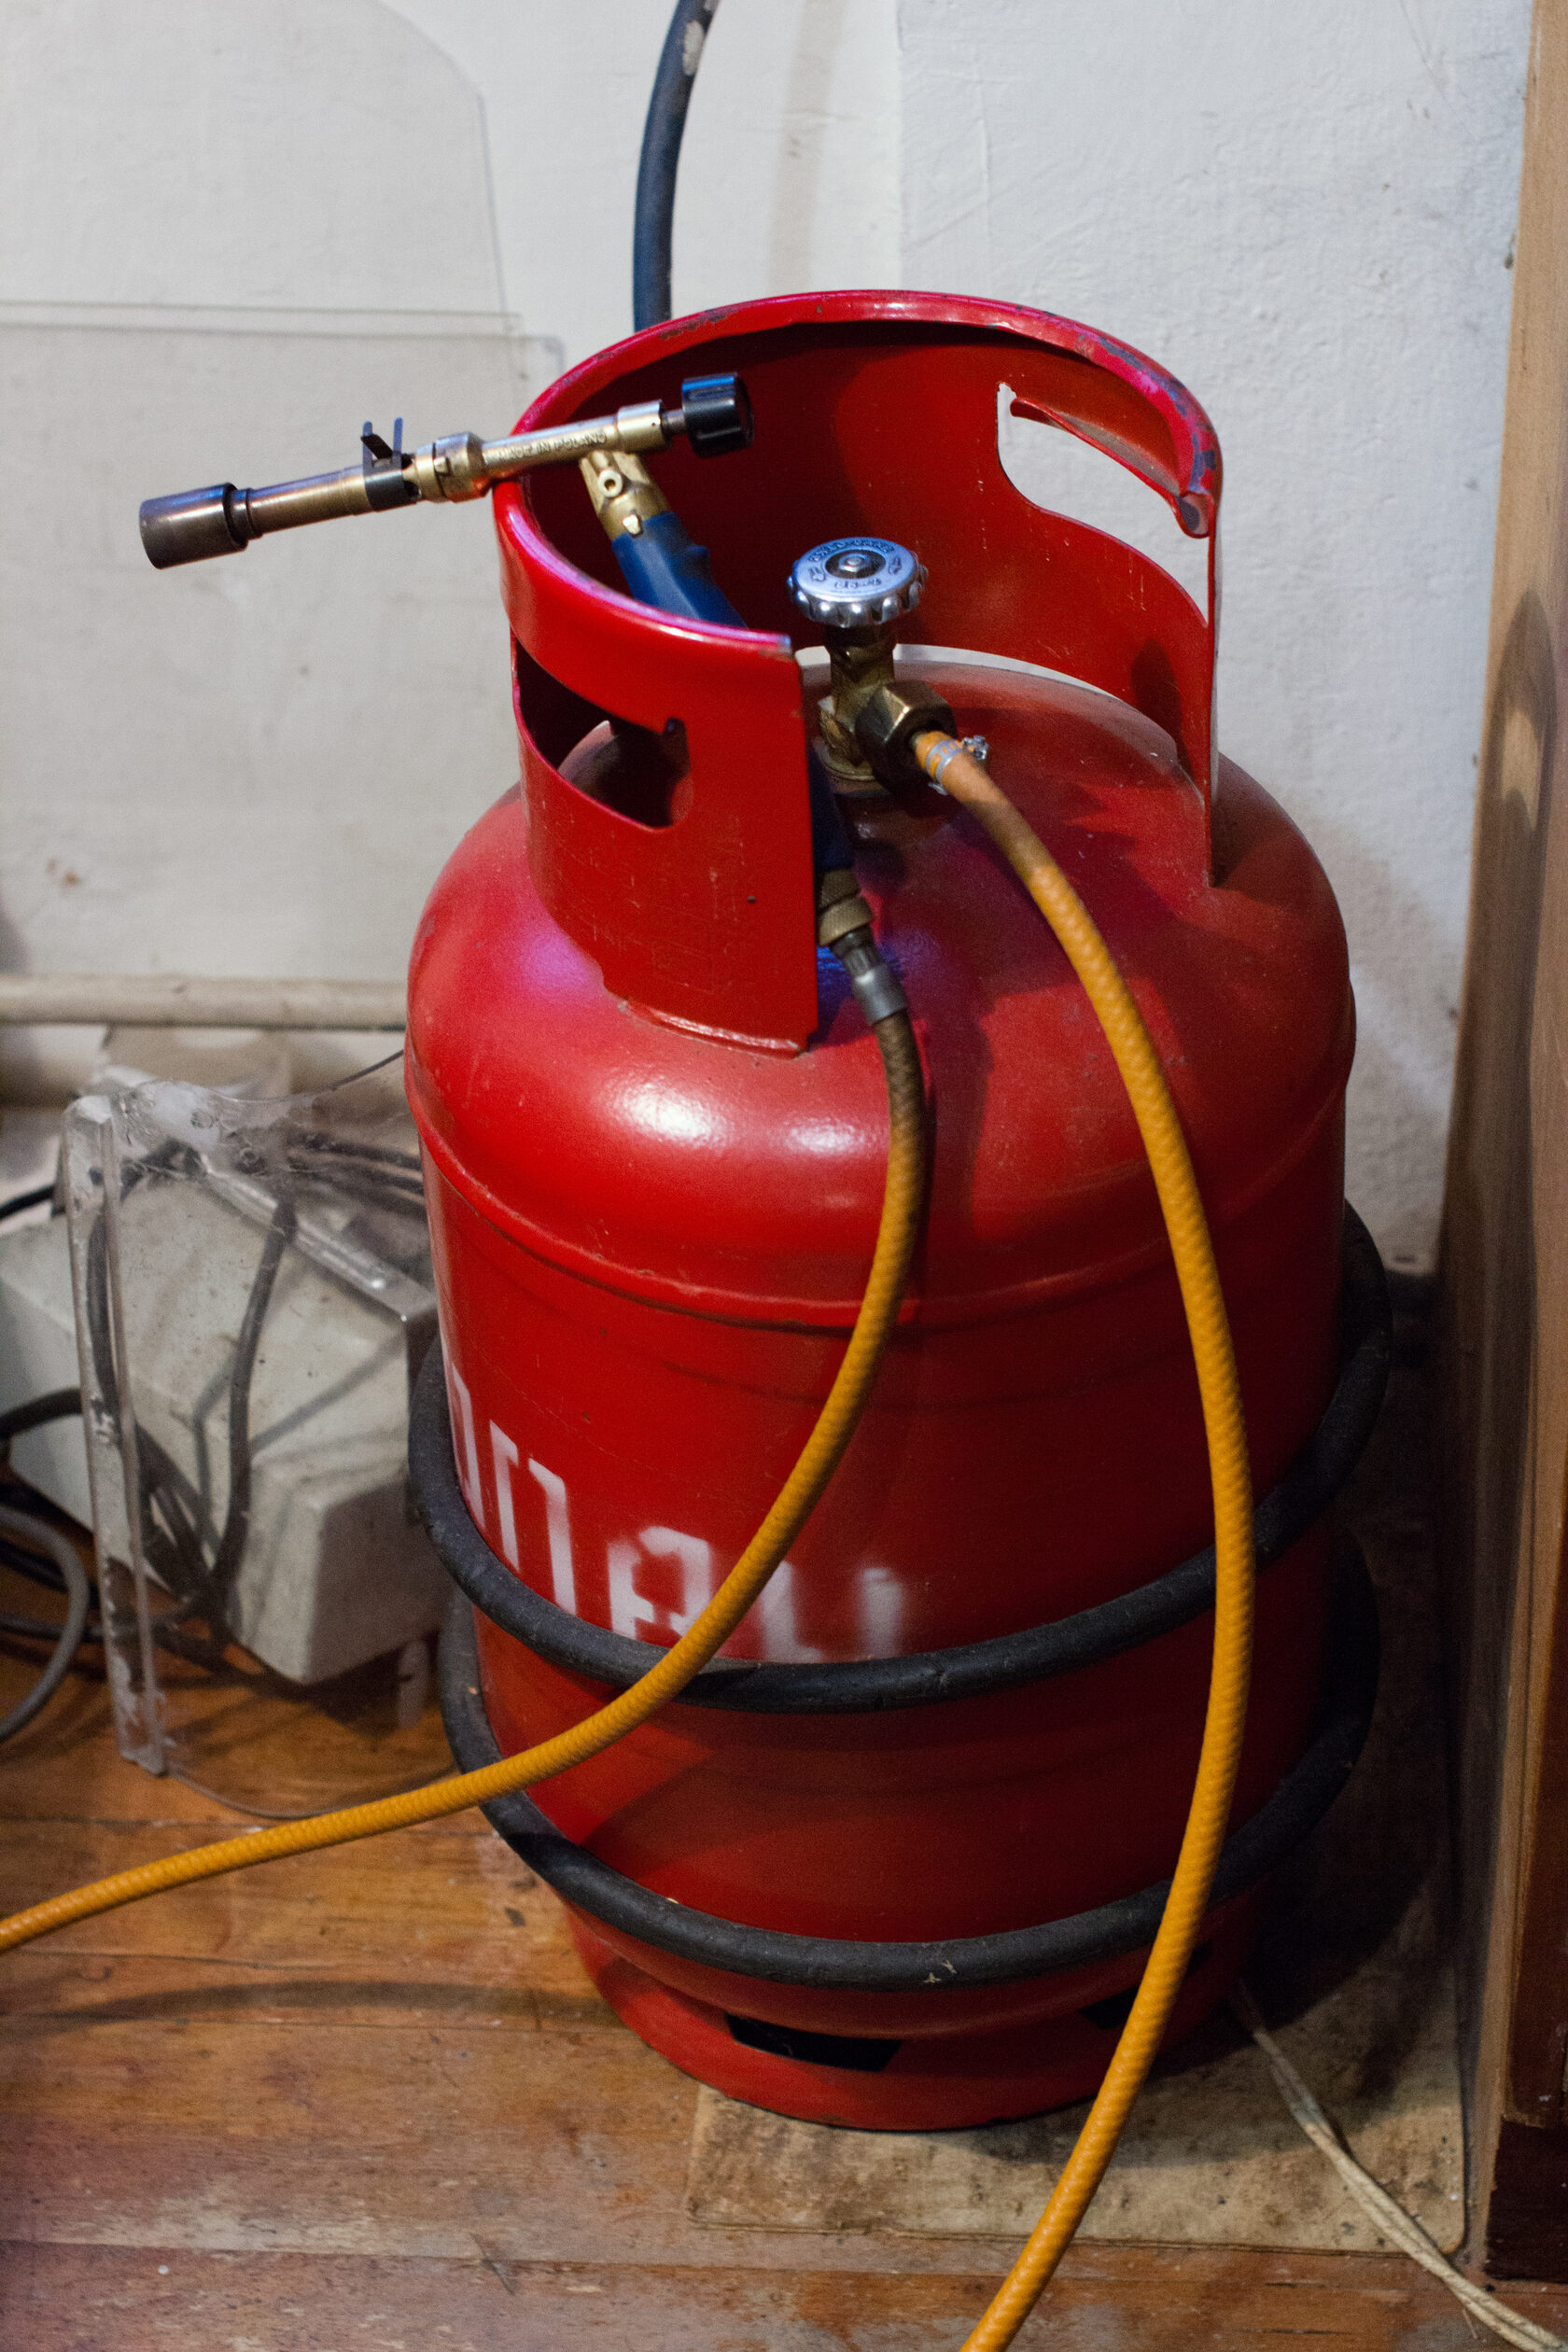
Only one thing in this trade can destroy a home, and that is the cylinder. Here is what is verifiable and dated — not workshop folklore.
- In France, article 12 of the arrêté of 23 February 2018 is explicit: cylinders holding more than 3 kg of propane, « raccordées ou non, sont tenues à l'extérieur des bâtiments d'habitation » — connected or not, they are kept outside residential buildings. Only butane cylinders under 16 kg may be inside a dwelling or its outbuildings.
- Never in a basement. The INRS puts it plainly for torch work: « Ne stockez pas en sous-sol » — propane is one and a half times denser than air and collects in low spots.
- Cylinders upright, chocked and secured. A cylinder lying on its side can let liquid gas through.
- Look for leaks with soapy water only (a grease-free soap), never with a flame. And never grease a valve, a fitting or a regulator.
- Move away or shield every combustible material around the bench, keep an extinguisher within reach, and go back and check the workshop after the session.
- Ventilate, and capture the fumes as close as possible to where they are produced. For jewellery work, the INRS notes that soldering and brazing fumes can contain cadmium, nickel and lead depending on the alloys.
For the soldering block, an ordinary lightweight firebrick will do. No asbestos: the INRS notes that older insulating materials may contain it, and refractory-ceramic-fibre boards deserve a closer look. As for pressed charcoal blocks, they draw the heat away — not what you want to start with.
The flux: borax and boric acid
The school's flux has two ingredients: 50% borax, 50% boric acid, a 1:1 ratio. There are ready-made fluxes on sale; they are not as good as this mixture.
The recipe, exactly as given: half a teaspoon of borax, half a teaspoon of boric acid, about 20-30 g of water. Boil it and stir until it dissolves. It should be saturated and slightly thick, but still liquid.
Make it in stainless steel — an old ladle about 55 mm across, with the handle cut down, is ideal. Not a tin can: the metal is thin, the solution eats into it, and the diameter is far too wide for the small amount you need.
Why two chemicals rather than borax alone? Because they do different jobs. Borax acts as the catalyst: it is what makes the solder flow well. Boric acid coats the metal with a film that protects it from oxidation. Under heat, metal combines with oxygen and blackens; once the surface has oxidised — firescale — solder will not stick to it. The flux keeps the metal clean, and clean metal is what lets solder flow.
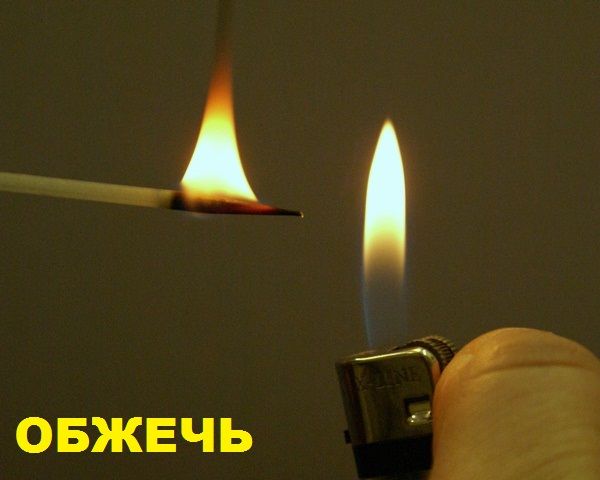
To apply it, the glass-fibre brush is the bench tool for the job: it does not burn. You break in a new brush by lighting the tip, letting the binder burn off, putting it out and rinsing it.
Black droplets appearing as the flux heats? That is normal. The flux cleans the metal and collects the dirt; particles burn off, soot forms and gathers.
The three solder grades
Solder is sold in three grades: hard, medium and easy. The difference that matters from day one is this: hard solder needs more heat before it becomes fluid. If yours sits in lumps instead of running, the real question is not «did I use enough?» but «are my parts hot enough?».
Buy it as 0.8 mm wire and roll it into a small strip — flat wire. When you solder, cut off a tiny piece and set it on the joint. Do not use a solder feeder: you will end up dumping far too much. It is a professional's tool, for chains and bracelets.
Nor should you try to make your own solder for now: the shop-bought kind does the job. The secret is not in the alloy, it is in how you lay the piece out — pack it in refractory wool so that nothing can move, and always test on a scrap before doing it on the piece.
A clean, tight joint
This is where half of all failures are decided, and it is settled before you light the torch.
- Roll the parts down to 1 mm – 0.8 mm. The sheet must be smooth and flat.
- The joint must be flat and well fitted: along the whole edge the parts have to meet and stay in contact.
- There must be no gap. Solder does not fill a void — it simply will not run into one.
- The joint areas must be clean, that is, pickled. Only then do you flux, and only then do you solder.
If you pickle before soldering, look at the joint before you bring the flame anywhere near: the point is that it must not be black.
Heating two different masses
A wire standing end-on on a sheet does not have the sheet's mass. Heat them the same way and the wire will be hot first, the solder will jump onto it, and the sheet will still be cold.
The school's rule: heat the small part less and the large part longer, so that they arrive at the same temperature — the same shade of red. Then the solder settles slowly and evenly on both and coats them uniformly. Hold the small part in position with a lancet.
A variant, for when the solder jumps anyway: tin it. Put the pieces of solder on the large part alone and heat it until they melt onto that spot. Flux the tinned spot again, stand the wire on it straight away, and heat the sheet again and, gently, the wire: as soon as the solder turns fluid again it will run straight onto the wire.
And the order of work on a piece made of several elements? It depends on the elements, not on their size. A large but pierced element next to a small, solid, thick one: solder the pierced work first and it may burn while you bring the small thick piece up to temperature. Look at the piece before you decide.
The classic beginner mistakes, and what to do about them
The solder balls up and sets in lumps. Your parts were not hot enough: the solder sits in heaps and sets like a paste. There is nothing to rescue with the flame — heat the parts, not the solder.
Too much solder. It comes off, but mechanically only: burs, cutters, abrasive paper, rubber polishing wheels, gravers, a needle file. Which is to say: better to use too little and go again.
«It looks under-soldered.» On a lap joint you have probably got slightly too much, if anything. On a butt joint there is an honest test: try to break it. If it breaks, there was not enough; if it does not break, it is fine.
The piece overheated. Metal does not burn like paper: it slumps into a deformed ball. On a finished piece that is a write-off — cut that part out if you can and remake it; if not, the whole lot goes back to the crucible.
The metal has blackened and the solder will not take. That is oxidation — firescale. It is exactly what the boric acid in the flux is there to prevent; what has already blackened comes off in the pickle, and whatever is left comes off like anything else, with a file or abrasive.
Pickling
After soldering, the piece goes into the pickle. The school's instruction is specific: not necessarily up to boiling, better around 60-70 degrees. Allow 5 to 10 minutes and watch until the borax — those little transparent crystals — has dissolved.
Then, and this is not optional: drop the piece into a baking soda solution (a teaspoon per glass of water), rinse it under water and wipe it dry. Only a piece treated that way goes into the rolling mill — borax left on the metal is pressed into the rollers, it attracts moisture from the air, and the mill rusts.
If the piece does not come out quite silver-coloured, no matter: the final colour comes with the finishing.
Nothing is wasted
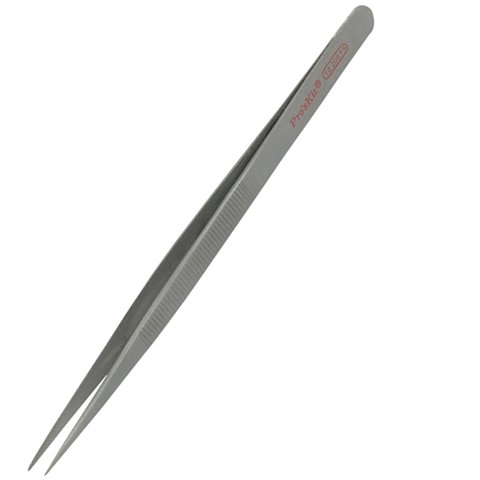
A failed joint can be taken apart. Heat it, and as soon as you see the solder start to shine, lift the soldered piece off with tweezers. Pickle it, melt it down — the metal goes back out for the next exercise.
The homework for the school's soldering lesson fits in a line: practise butt and lap soldering, and pickle the joint before you photograph it. Two joints, as many times as it takes. That is how the hand learns to read the colour of the metal.
One last note: this article is written by jewelers, not lawyers. The rules and factsheets quoted are public and dated, but for your own gas installation and premises, have your situation confirmed by your gas supplier and by the relevant authority.
Ready to try in practice?
"Jeweller Profession. Beginner" online course