Jewellery craft · 2026-09-17
How to start jewellery making from scratch
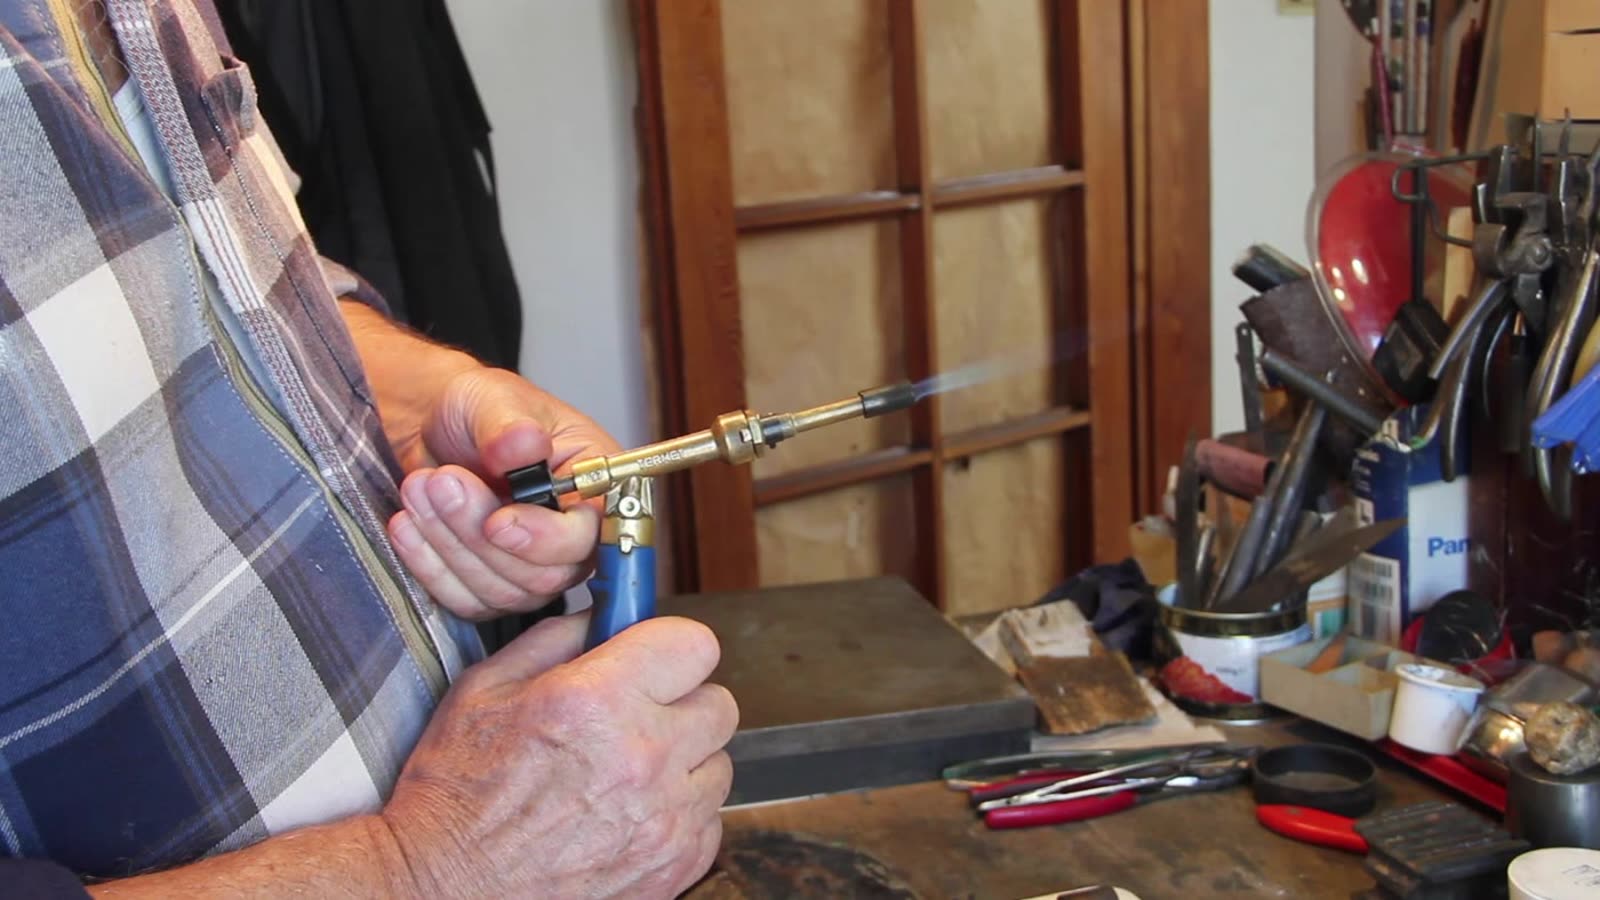
Almost everyone starts with the wrong question. The first one is not “which tools do I buy?” but “what do I learn first, and what comes after?”. The order is not a matter of teaching style: every operation in this craft exists because the previous one already works in your hands. Here is that order, what the first weeks are really like, how long the first ring takes, and how to find out whether this is for you before spending money on tools.
The order you learn things in
This is the order we teach in, and it is not arbitrary: each item is a prerequisite for the next.
- **Safety.** Before anything is lit: what can catch fire nearby, how to air the room before and during work, how to handle acids.
- **Metals and finenesses.** Which finenesses exist, which metal to practise on and where to buy it.
- **The workspace.** A solid table, a bench pin, a drawer underneath to catch the filings, light from the left, ventilation.
- **The torch.** Which types there are, what each is for, and how to adjust the flame.
- **The crucible.** Why it has to be prepared, and how to coat it with borax.
- **Melting.** Silver into the ingot mould: out comes a bar.
- **Rolling and stock.** Sheet of various thicknesses, round wire, square wire, tube.
- **Soldering.** Overlay and butt joints, and what changes from piece to piece.
- **The wedding band.** Forming the ring, preparing the seam, soldering, sizing, sanding and polishing.
- **Stones.** Types and cuts, the split shank, the bezel — and finally a ring with a stone.
- **The rest.** Overlays, earrings with texture and oxidising, a pendant with sawing and engraving.
Notice what does not appear at the start: setting a stone, engraving, making overlays. That is not about rationing the fun. A bezel is measured against the stone and soldered; if your soldering is not there yet, a bezel is not a challenge, it is a ruined piece. And you do not solder two pieces of silver you cannot roll.
What the first weeks are really like
In the first weeks you do not make jewellery: you make metal. You light the torch, learn to read the flame, prepare the crucible, melt a few grams of silver in the mould and take out a bar. Then you roll it down to the thickness you need. It sounds unspectacular, and it is exactly the work that holds up everything that follows.
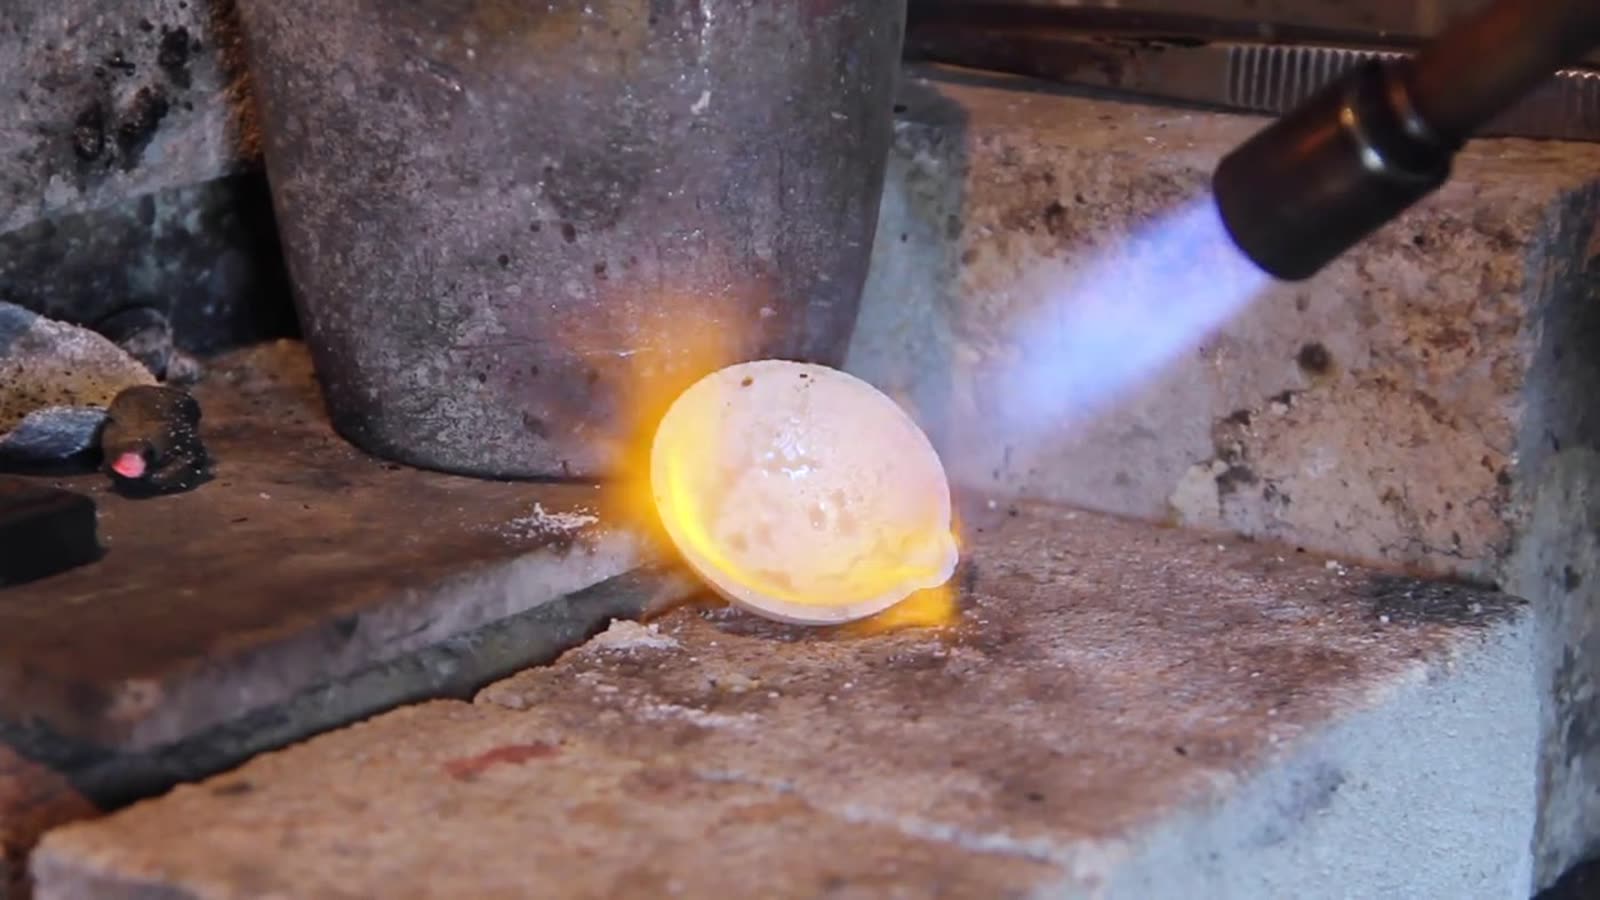
One figure worth carrying from day one: pure silver melts at 961.78 °C and copper at 1084.62 °C. That is why the torch and the crucible come before anything else — and why practising in copper, which is cheaper, asks for more flame than silver, not less.
The good part about this beginning is that almost nothing is irreversible. Filings, sprues and failed pieces go back into the crucible. A crooked ring is melted down and started again. The metal does not disappear; it changes shape.
On time: we suggest aiming for two to three hours of practice a day. You can make progress at half an hour a day, but then do not be surprised by the pace. There is no single figure for everyone — speed, resources and motivation differ from person to person.
And an honest warning about how the time splits: sawing straight, filing flat, sanding and polishing take far longer than melting or soldering. The part you see in videos lasts minutes; the part that makes a piece look like jewellery lasts hours.
How long the first ring really takes
In our beginner course the wedding band is module 3 out of ten, and the whole course runs for ten weeks. So if you keep to the programme's pace, the first ring arrives around the third week — not earlier, because ahead of it come the preparation lesson (torch, crucible, ingot), making stock with the rolling mill, and soldering.
The ring itself is not a single gesture but a sequence: forming the band round, preparing the seam, soldering it, sizing it on the mandrel, sanding and polishing. What everyone underestimates is the end of that list — polishing is what separates “a silver hoop” from “a ring”.
A ring with a stone is a different thing and comes later: cabochons, the split shank and the bezel are modules 4, 5 and 6. The stone pieces we show as module-six student work belong to the second month of study. By the end of the ten weeks the count is six pieces.
There is a shortcut, and we teach it precisely out of honesty: a home casting method that gets you the shape of a ring much sooner — it saves roughly two weeks. It is good for having a result in your hand early; it does not replace learning the operations, because a cast ring still needs the file, the sandpaper and the polish.
What stops people
1. Fear of ruining expensive metal. The most common brake, and the easiest to release: practise the operations in copper or brass, and save the silver for the piece you already know how to make. Besides, ruined silver goes back into the crucible.
2. The endless buying of tools. One of our students put it better than we could: all through the course she kept buying one more thing, and another, and another. In a craft that never ends. The answer is not to buy everything before you start, but to buy what the next piece demands.
3. Expecting to understand it first time. Nobody takes in a completely new movement in a single pass. Watching the same operation again and repeating it is not going backwards: it is the method.
4. Not having the sequence. Many people arrive knowing scattered tricks from videos, without understanding the fundamentals underneath or the order they fit into. It is the complaint we hear most from people who started on their own.
5. Impatience. This is a craft for the persistent. If you need something visible to show for every evening, the first weeks will be hard on you.
6. Having nobody to ask the silly question. Working alone, a two-minute mistake can cost you a week of going in circles.
How to tell whether the craft suits you without spending on tools
The honest test is not the photo of the finished ring — everybody likes that. The test is the slow parts. Four cheap ways to find out:
- **Watch the whole chain once.** Safety, torch, crucible, melting, casting. Not to memorise it, but to notice what you feel during the boring parts.
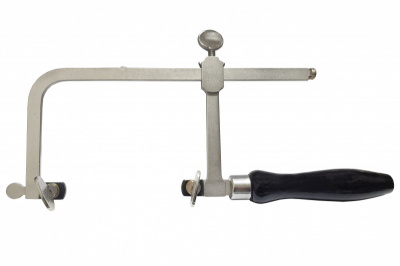
- **Two hours with a saw and a file.** A sheet of copper, a jeweller's saw, a few files: saw a straight line, then a curve, and file an edge until it is truly flat. If those two hours fly past, that is a very good sign. If they feel like a punishment, you have also learned something.
- **Sit the way a jeweller sits.** Firm table, light coming from the left, your back in one position for an hour. Plenty of people meet the limits of their body before the limits of their patience.
- **Ask the money question out loud.** Every craft asks for investment: an illustrator buys a tablet, a photographer a camera, a jeweller tools, a bench and metal in circulation. The question is not whether it will cost money, but whether you are willing to start from the minimum instead of from the whole workshop.
Our own position on this is the reason a short mini-course exists at all: it does not seem reasonable to us that somebody should have to buy the full kit before knowing whether they like the craft. So what it covers is exactly the beginning — safety, tools, metal, the workspace, the torch, the crucible and a first melt — and not the pretty part.
What to do this week
- Read the safety rules before anything else.
- Decide which metal you will practise on; silver is the working metal, but copper and brass are there for your first mistakes.
- Clear a solid table, put the light on your left, and work out where the air will go.
- Get the minimum for cold operations: saw frame, blades, files, a sheet of copper.
- Do two hours of sawing and filing, and pay attention to how you feel afterwards. That feeling will tell you more than any article.
The craft does not begin with a ring. It begins with a piece of metal you melted yourself, and with the decision to melt it again when it comes out wrong.
One final note: the timings here are the structure of our course and what we observe in the people who follow it, not a promise. Your own pace will depend on the hours you put in and on how stubborn you are about the boring parts.
Ready to try in practice?
"Jeweller Profession. Beginner" online course